After you have created the Django project, you should be able to start the development server to test it. The development server is a lightweight web server that is included with the Django project. It lets you develop and test your website without having to deal with all the configuration and management issues of a production web server.
Try It Yourself: Start the Development ServerIn this section, you learn how to start the development server.
If the development server starts properly (and you haven't changed the debug setting), you should see a page similar to the one shown in Figure 2.2. Figure 2.2. Initial browser view of a Django website.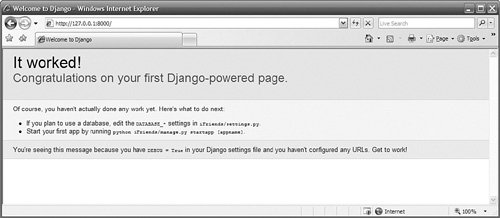
By the Way You can tell the development server to use a different port than 8000 if that port is already being used by adding the port to the command line. The following example shows the syntax for configuring the development server to run on port 8008: manage.py runserver 8008 |
