Django's admin interface provides a versatile and dynamic method of administering objects on your website. You can add, modify, and delete objects from the admin interface.
Typically, most objects are added programmatically through a series of web forms and application code. However, often it is useful to be able to quickly view, add, or modify an object from the admin interface.
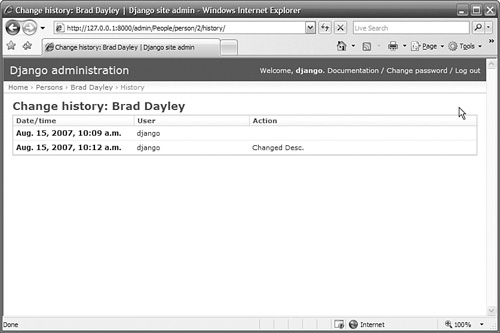
The admin interface contains a number of predefined views. The main page, shown in Figure 3.3, has three main parts: the title bar, the site administration table, and the Recent Actions list. The title bar at the top displays the site name, a login welcome message, and links to change the password and log out. The Recent Actions list is a history of events that have taken place on the admin interface.
The admin interface is easy to navigate. The Add link allows you to add objects, and the Change link allows you to modify existing objects.
Most of the work is done from the site administration table. In the Auth section, you can enter users and groups. These users are tied into Django's authentication system. In the Sites section, you can enter domain names that the Django server will service. Applications that are enabled in the admin interface appear below Sites.
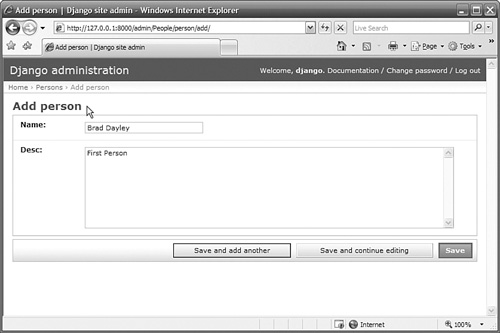
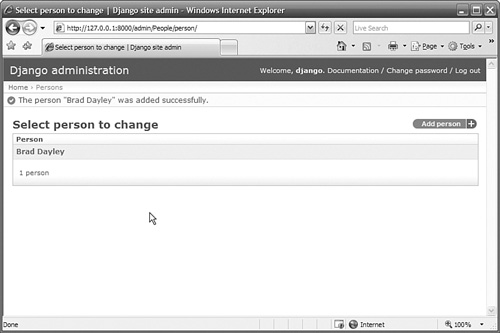
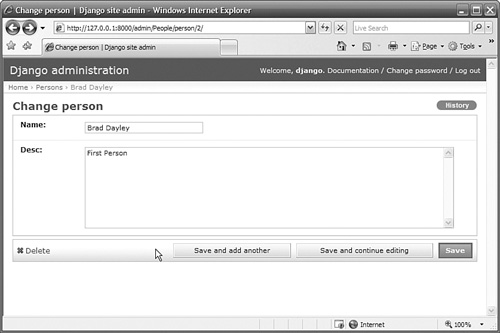
Try It Yourself: Add and Modify an Object Using the Admin InterfaceIn the preceding section, you enabled the People model in the admin interface, and it appeared on the main page of the admin interface. In this section, you will use the admin interface to add a Person object to the database. Follow these steps to open the admin interface and add a Person object and then modify it:
|